
Creating an Event
Learn how to create and edit your event
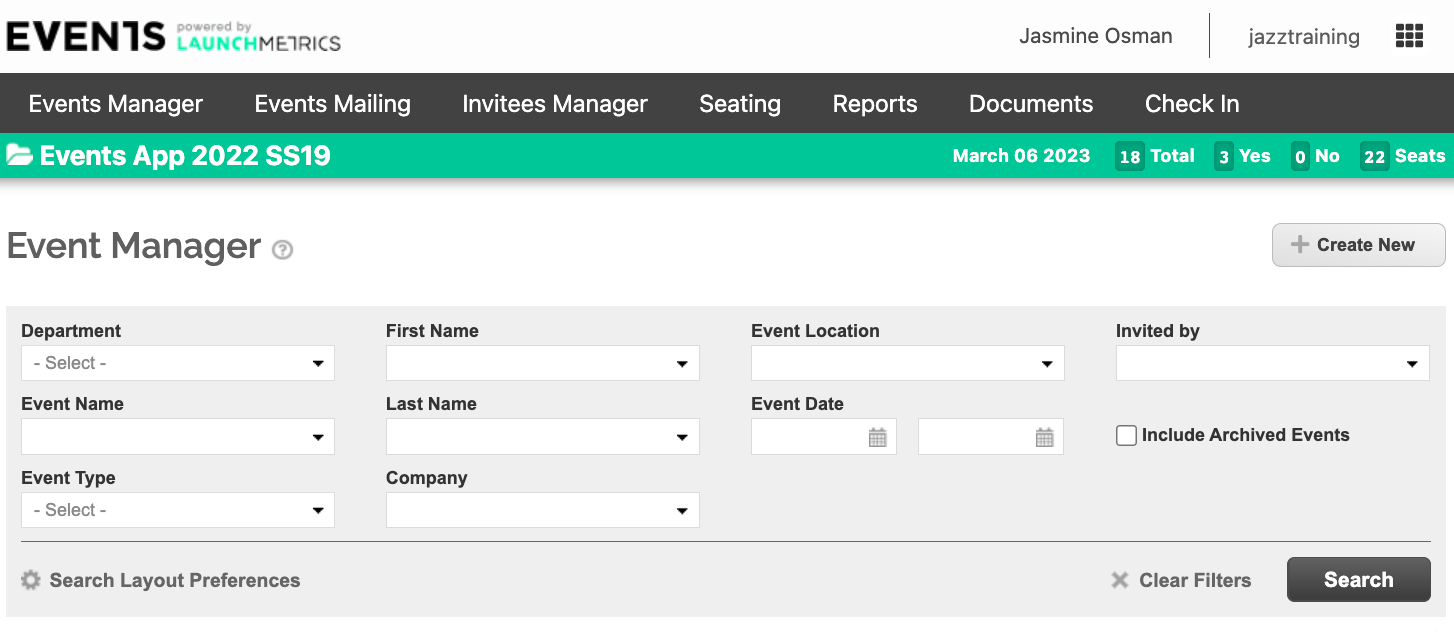
To create a new event, click “Create Event” in the upper right corner of the page.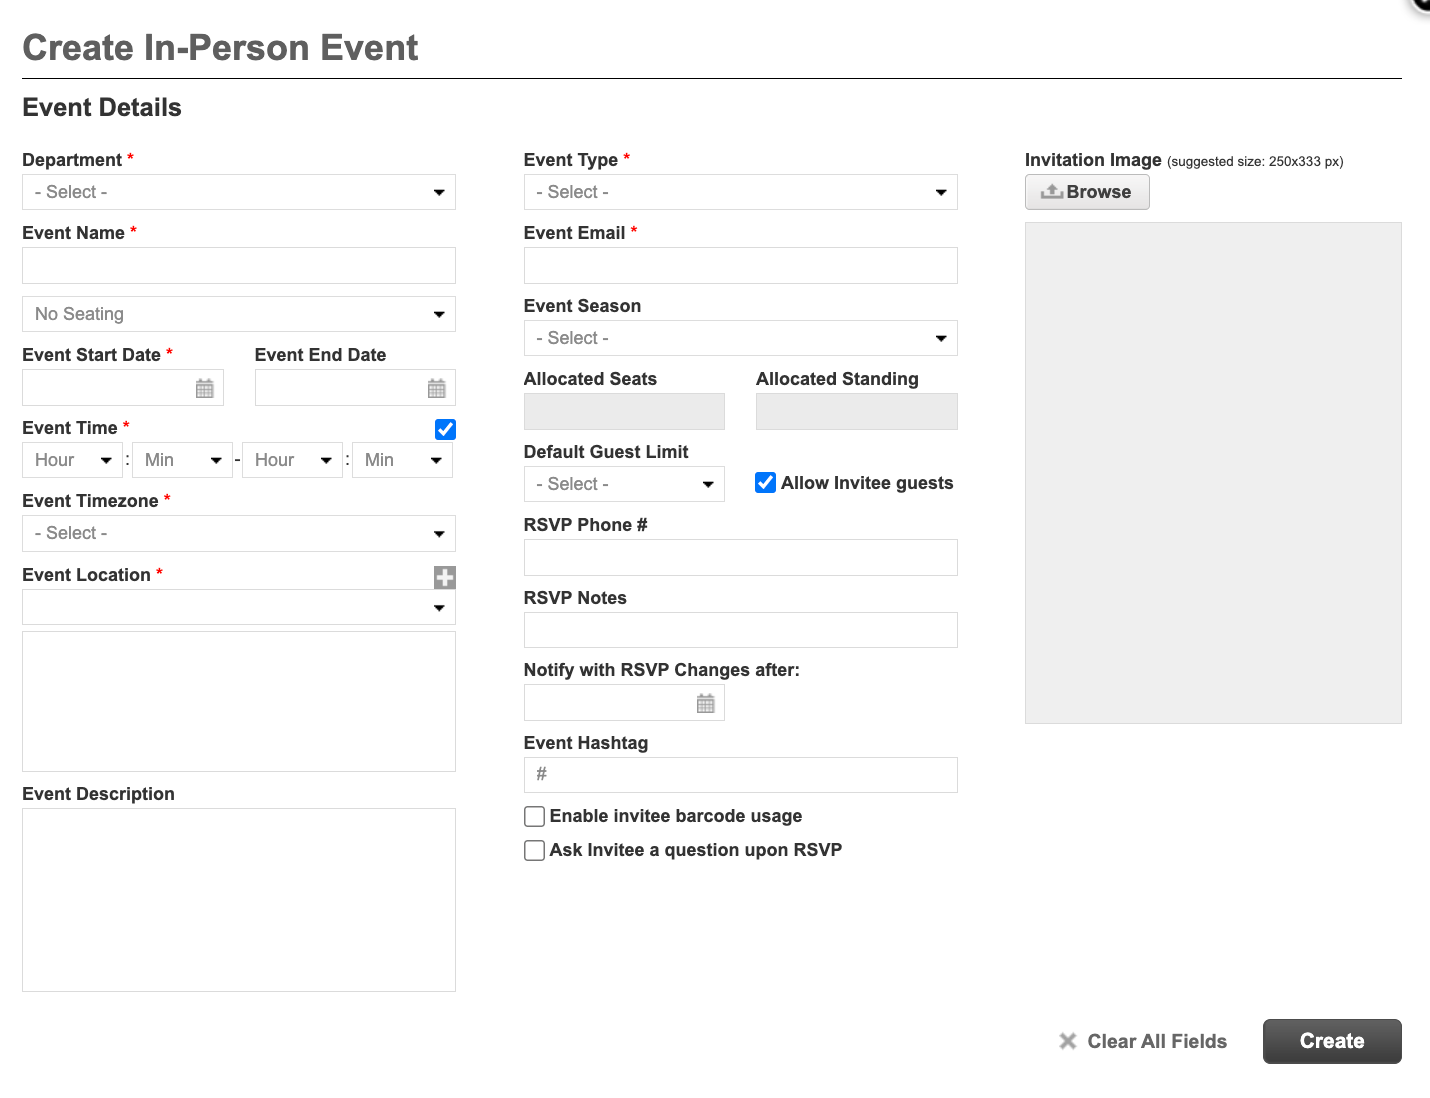
The required fields will be denoted with a red asterisk(*):
Department: This is the department of users who will have access to the event.
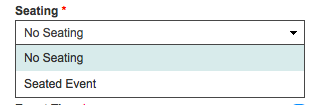
Seating: Select the seating style for the event, either a Seated Event or No Seating is needed.

Event Time: This is the time of your event. Please note this is formatted using 24-hour time. To make the event time appear in a 12-hour format on your invitation, be sure to check off the box next to “Event Time”. Regardless of which format you choose, you still have to enter the event time using the 24-hour format.
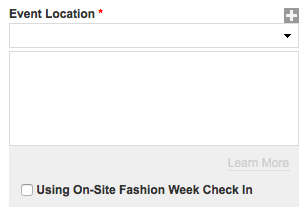
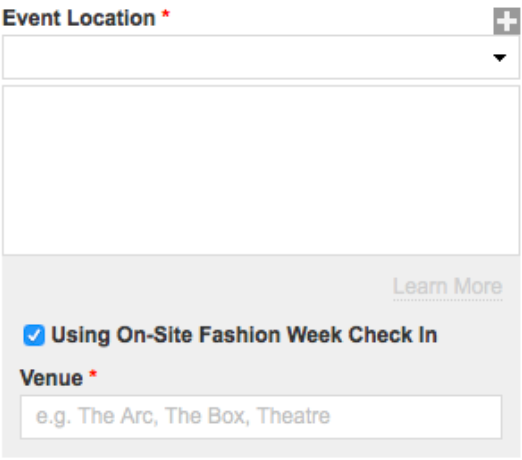
Event Location: Click the plus sign (+) to add a new location, or select an existing address from the drop-down menu. The information that is populated in the drop-down comes from your Company Manager.
Using an On-site Fashion Week Venue?
If your event is using an On-Site Fashion Week venue, you MUST select the checkbox in order for the check-in software to work at the tents. Once selected, please specify the venue.
-
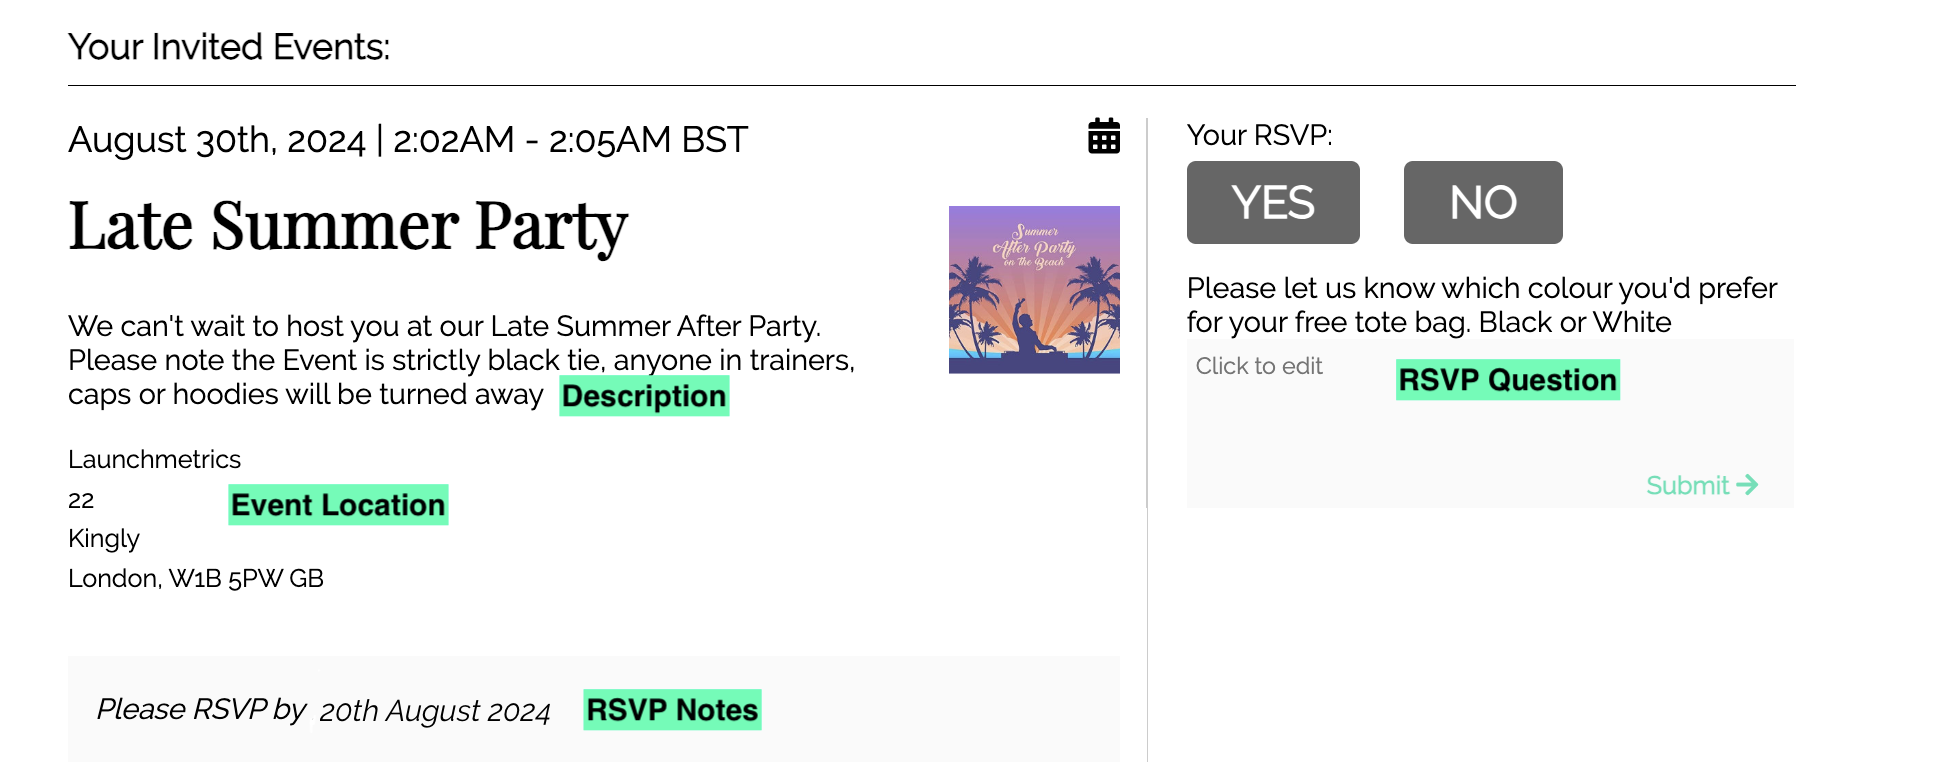
Event Description: This field is used to add in any descriptions about the Event that you'd like your Invitees to see. This will appear on your RSVP page.
-
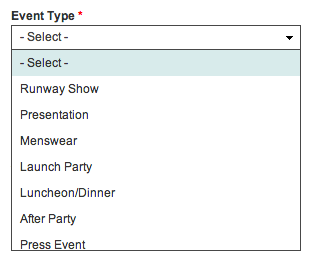
Event Type: This is what kind of event you are having. This information is only internal.
-
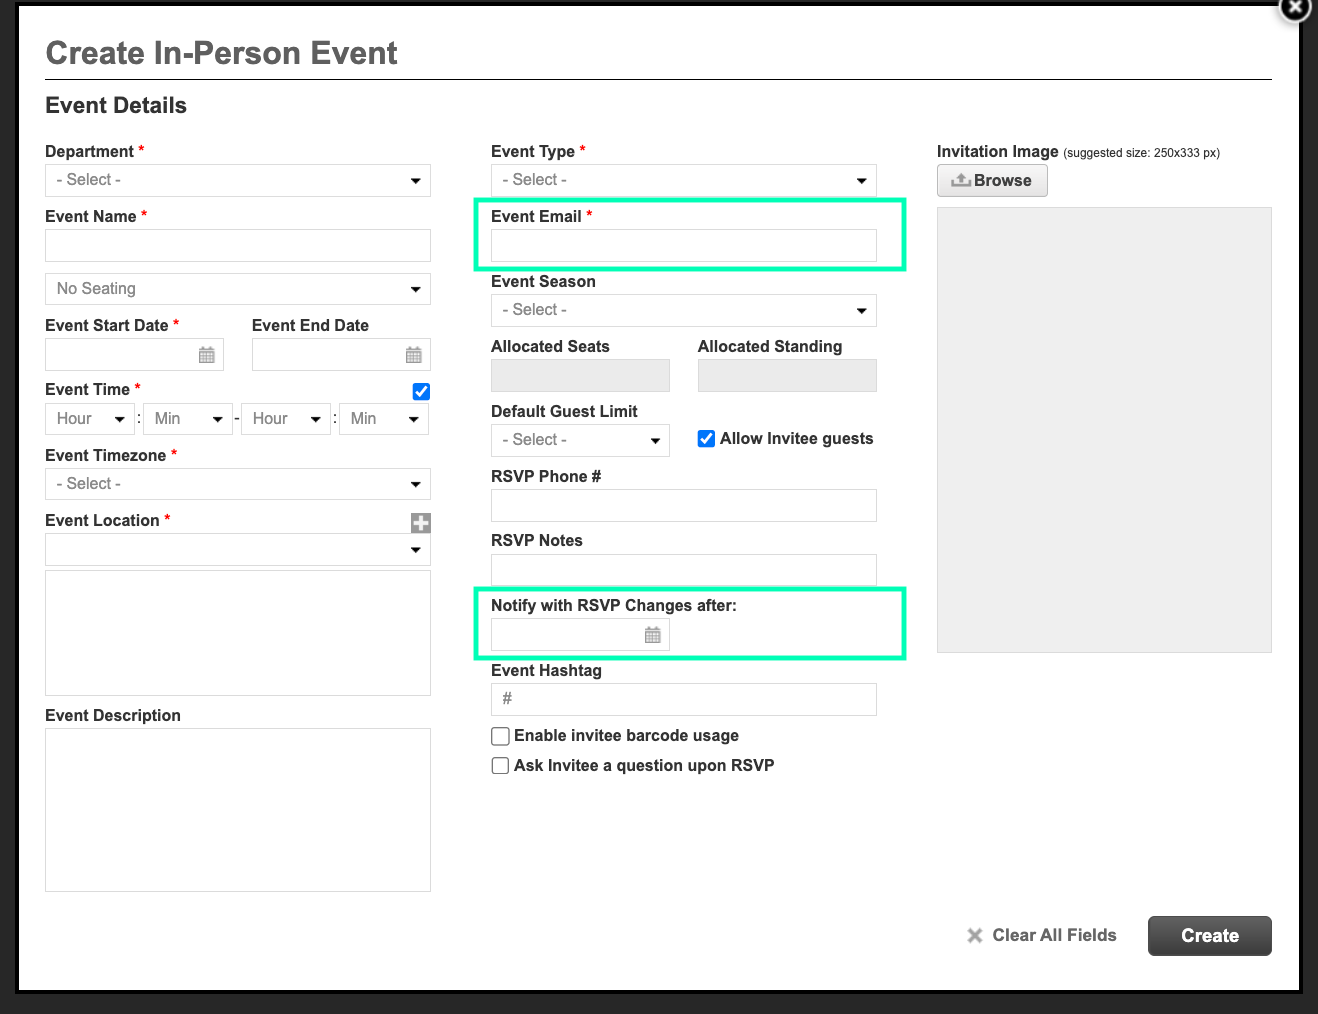
Event Email:This is the default email address from which all event RSVP email templates will be sent. Although this is the default, you can still change it when you are editing your Events Mailing templates.
-
Event Season: This is the season corresponding to the event.
-
Allocated Seats and Standing: This is an internal reference. This will not stop you from assigning seats or standing if you exceed the limit.
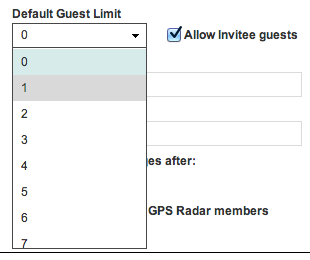
- Guests : By selecting “Allow Invitee Guests”, you enable the ability to assign Guests to your Invitees. The default number designates how many Guests each Invitee will get. If you only want a handful of people to have Guests, tick off the box but keep the default at zero.
-
RSVP Phone: Use the number of the person managing your RSVP's as this will appear on your RSVP page.
-
Rsvp Notes: This field is used for any notes you'd like your invitees to know about. This will appear on your RSVP page.
-
Event Hashtag: This is for internal reference
-
Enable invitee barcode usage: Enabling this option will allow users to include an Invitee Barcode/QR Code within any Events Mailing e-mail template.
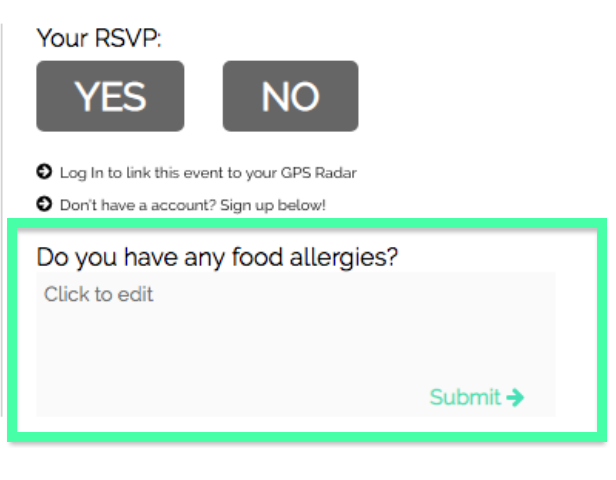
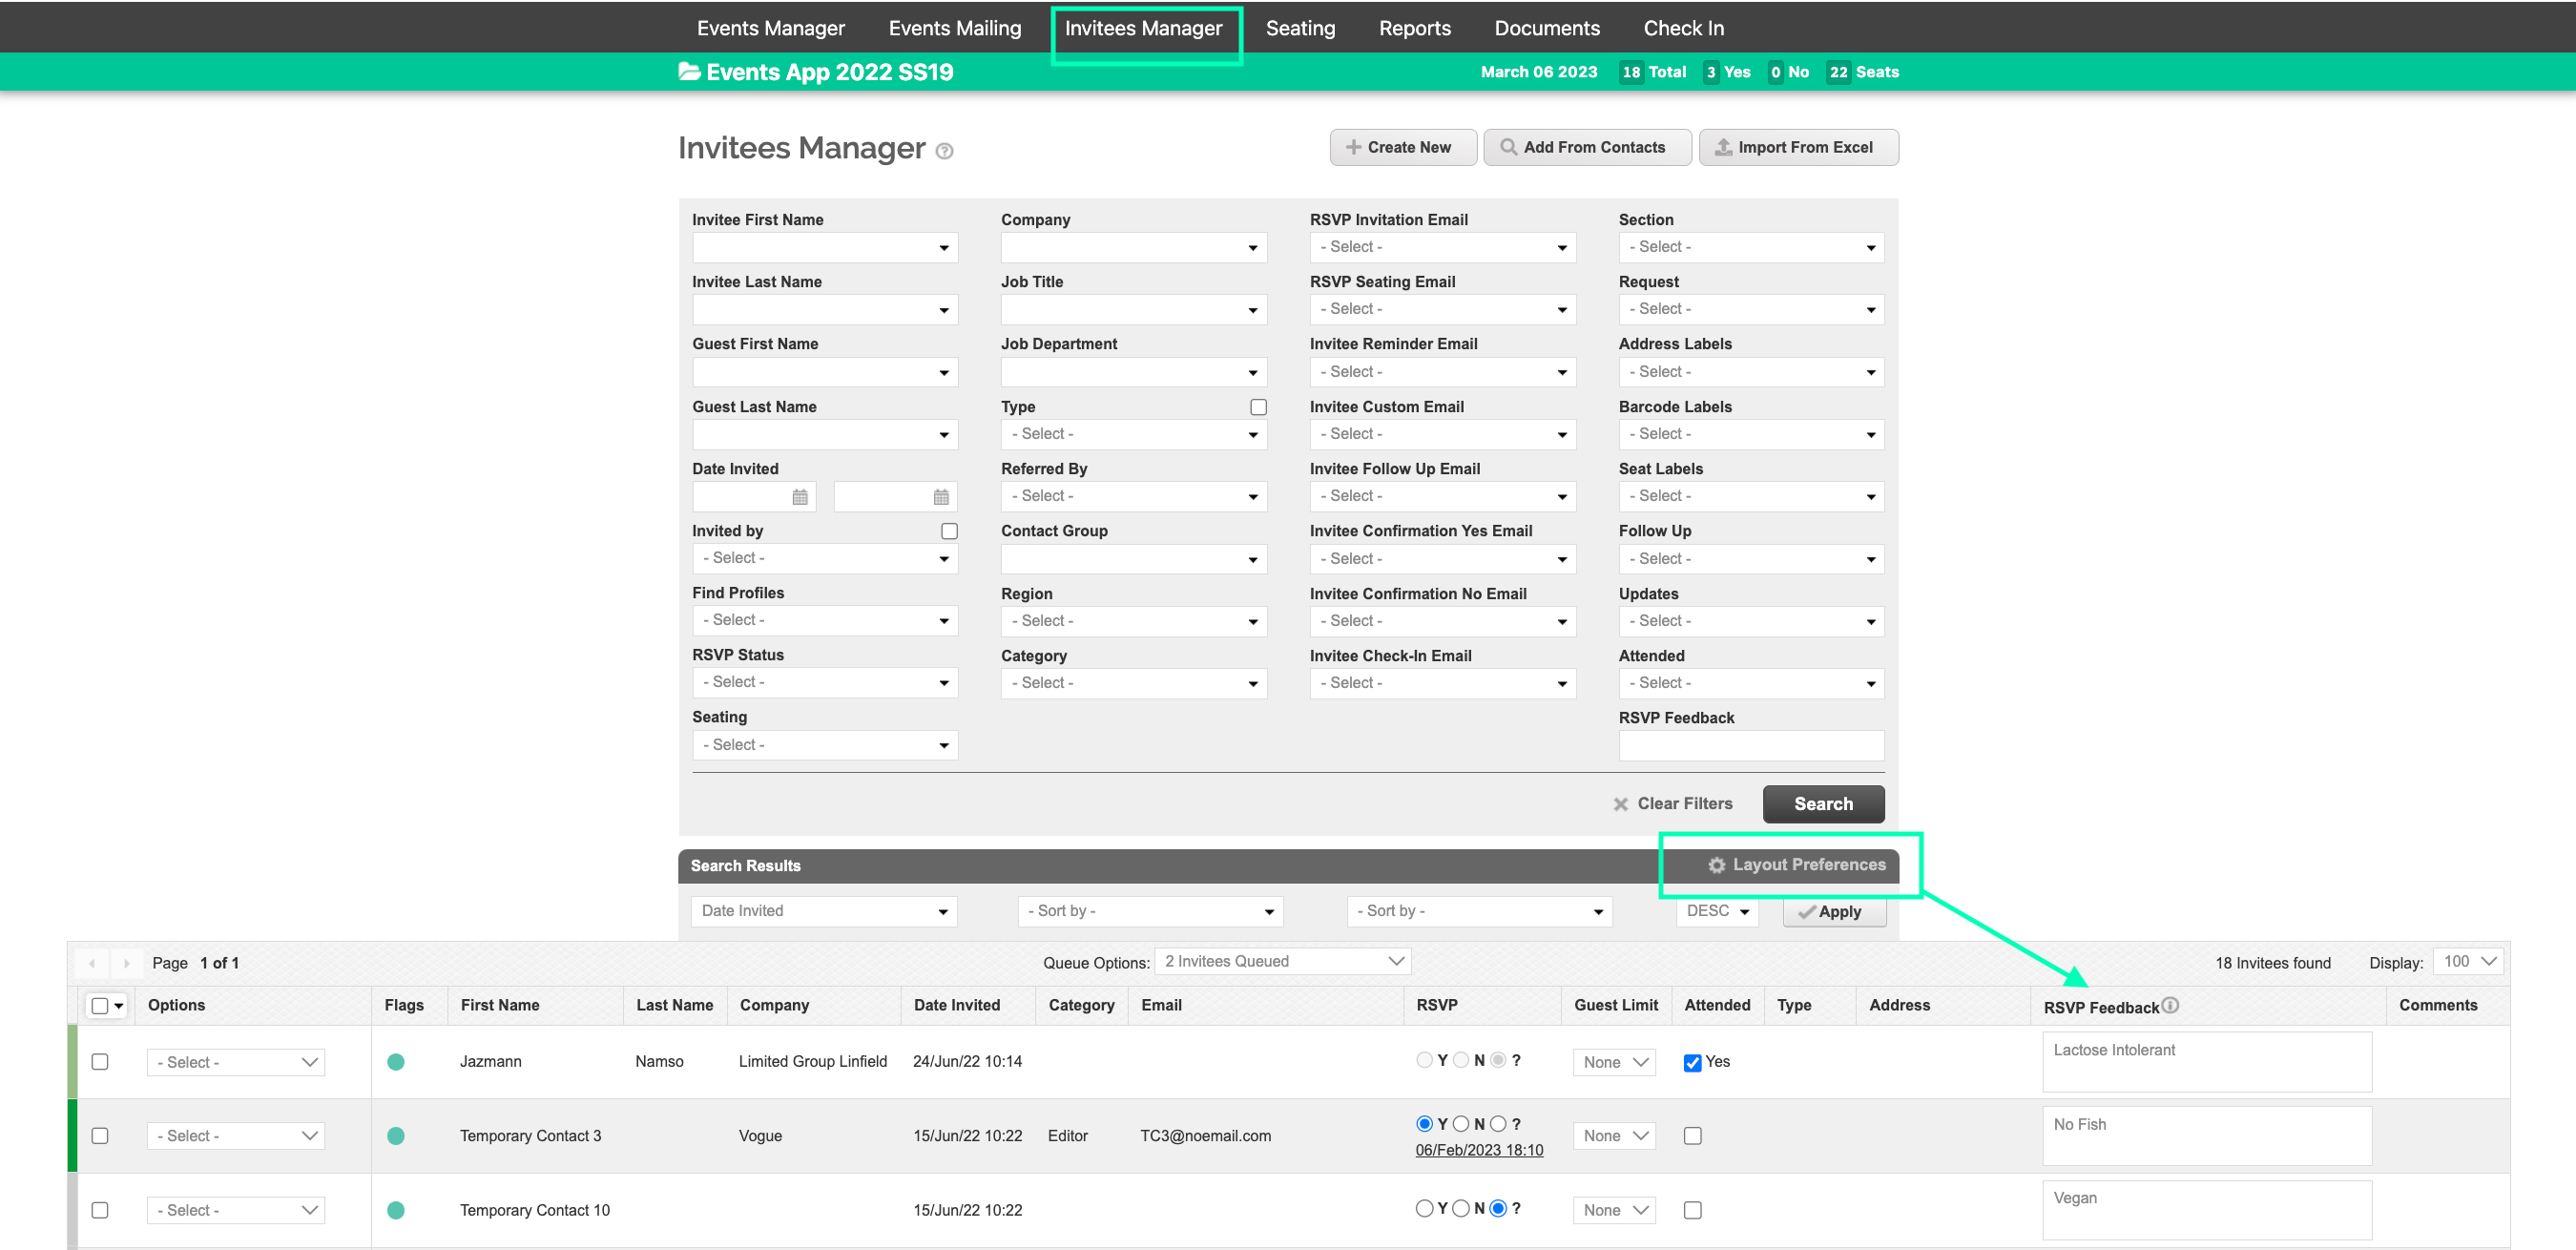
- Ask Invitee a question upon RSVP: Enabling this option will allow users to ask invitees a question upon RSVPing. This question will be viewable and answerable to your Invitees when they 'Click to RSVP'.
-
Answers are able to be seen by using the Layout Preference RSVP Feedback within the Invitees Manager.
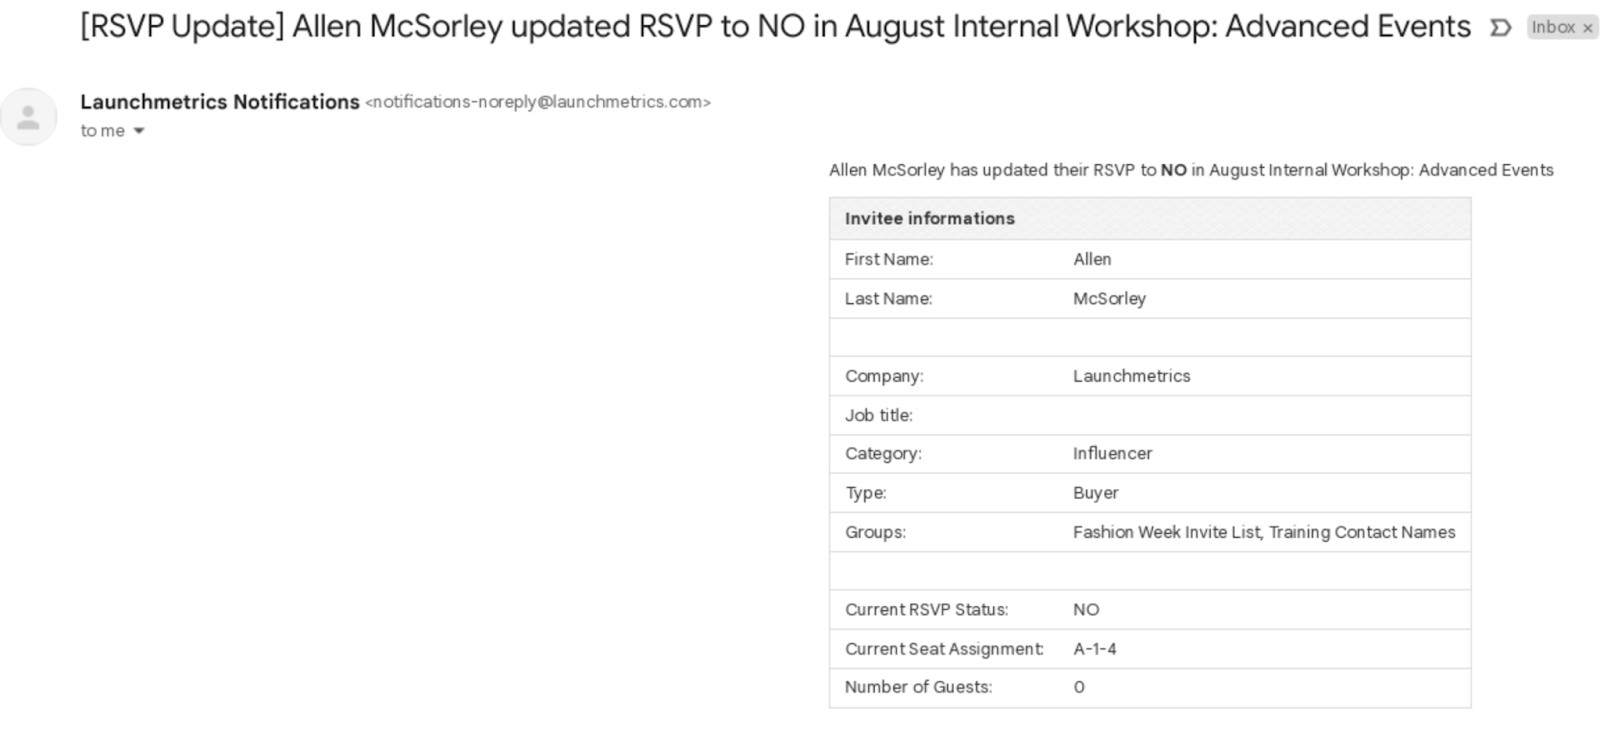
Notify with RSVP changes after: This is a very useful field for 'Seated Events'. By setting a Date that is typically 1-2 days before the Event Date, if an Invitee changes their RSVP, this will send an email alert to the email address that is set in the 'Event Email' field.
 RSVP Landing Page