
Editing and Queuing Invitees
Complete actions on individual or multiple Invitees at once.

To complete actions on individual invitees, click on the "Options" dropdown.
- View Contact Details: You can view a contact's information for quick referencing.
-
Edit Contact Details: You can edit a contact's information from Invitees Manager.

- Add Guest: If you know an invitee is bringing a guest, add in their details. If you don't know their details at this time, you can leave all fields blank and click "Create". This creates a generic "Guest 1 of Invitee Name".
-
Remove Invitee: This removes your invitee from your guest list.

To queue your invitees, either search for a group of invitees using the search fields and click "All Found" or use the check-box at the far left column to select the individuals you wish to queue.

Clear Queue: This clears your current queue and allows you to 'start over'
Add to Contact Group: Used to create any lists you need for your contacts (*You can only add permanent contacts to a contact group)
Create as Contact: Allows you to convert temporary invitees into permanent contacts and add them to your database
Add to Existing Mailing: Send your queued invitees to an existing mailing you have created already. It will give you the option to duplicate the mailing or add them to the patch.
Add to New Mailing: Send your queued invitees to events mailing. This will redirect you to the Events Mailing page. From here, select the email template you wish to send and follow the instructions in the “Event's Mailing” article.
Export Seat Labels: Allows you to export the seating assignments you assigned invitees
Export Photos: Allows you to export face photos of invitees. (*Only available to add face photos to permanent contacts.)
Export Addresses: Allows you to export the invitees addresses
Export Barcodes: Allows you to export invitees barcodes for checking in.
Export for Updates: An Excel will be downloaded with event specific information. The export includes Temporary and Permanent Contacts. For more information, click here on the "Invitees Export for Updates" article.
Update Invited by: You can denote that an invitee was invited by someone specific by going to the “Invited By” column, and clicking “Edit” to add a new entry, or selecting an existing one. For more information, click here on the "Using the "Invited By" article.
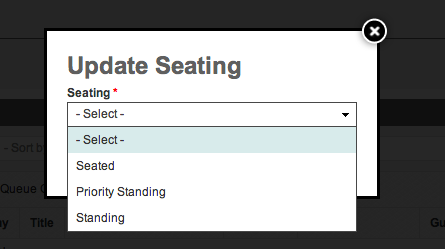
Update Seating: Change the seating status (standing, seated, etc.) for all queued invitees.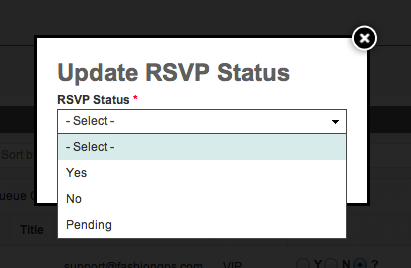
Update RSVP Status: Change the RSVP status (Yes, No, etc.) for all queued invitees.
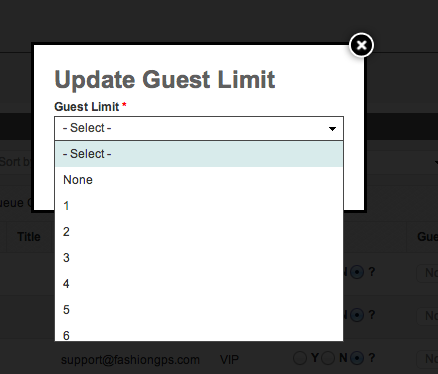
Update Guest Limit: Change the number of guests allotted for all queued invitees.

Mark as Recently Updated: After noting RSVP changes for that day, confirm that you have seen them by selecting "Recently Updated" for each person
Mark as Update Acknowledged: Allows you confirm the RSVP change and that you acknowledged it
Mark As Attended: Mark all queued invitees as having attended your event.
Remove Invitees: Remove all queued invitees from your event. This action will not delete them from the database, only remove them from the event.